Video walkthrough
1 min 46 s · Hindi voice-over with English on-screen text.
Step by step
You need: a Windows 10 / 11 PC or Windows Server 2016+ to protect, and somewhere to keep the backups (your Google Drive, OneDrive, an FTP / SFTP server, or a local disk or NAS).
Create your free account
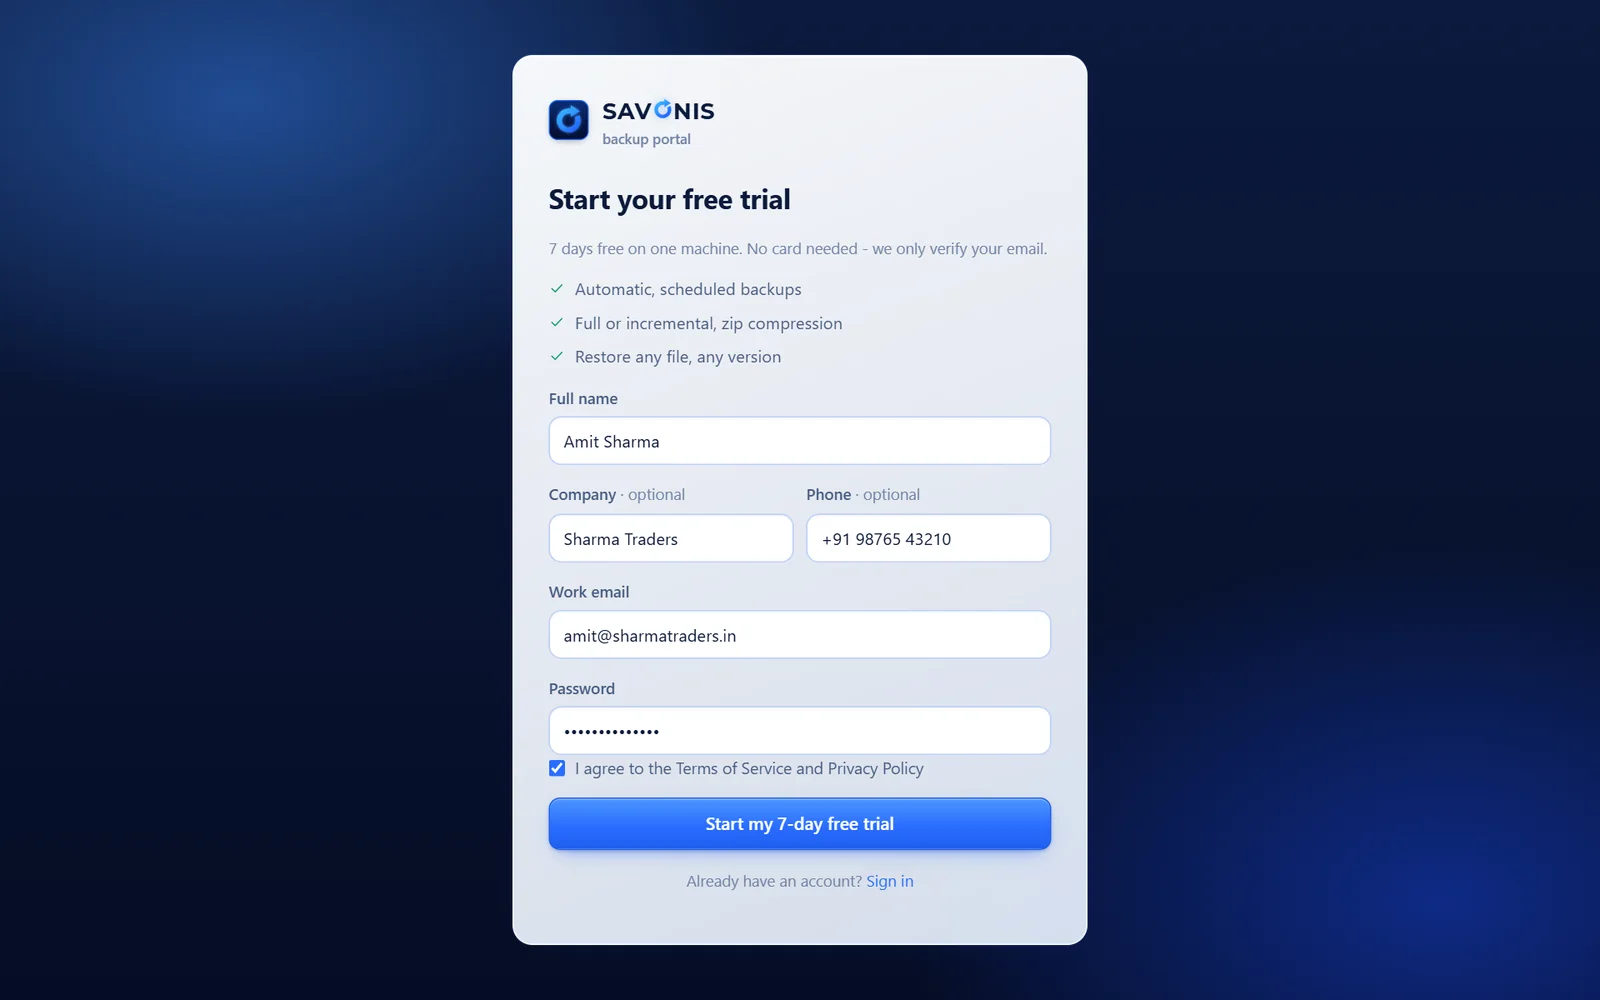
Go to savonis.com and click Start free trial. Enter your name, work email and a password, and tick the terms box.
Open the email from Savonis and click Verify email address, then sign in.
Add your computer
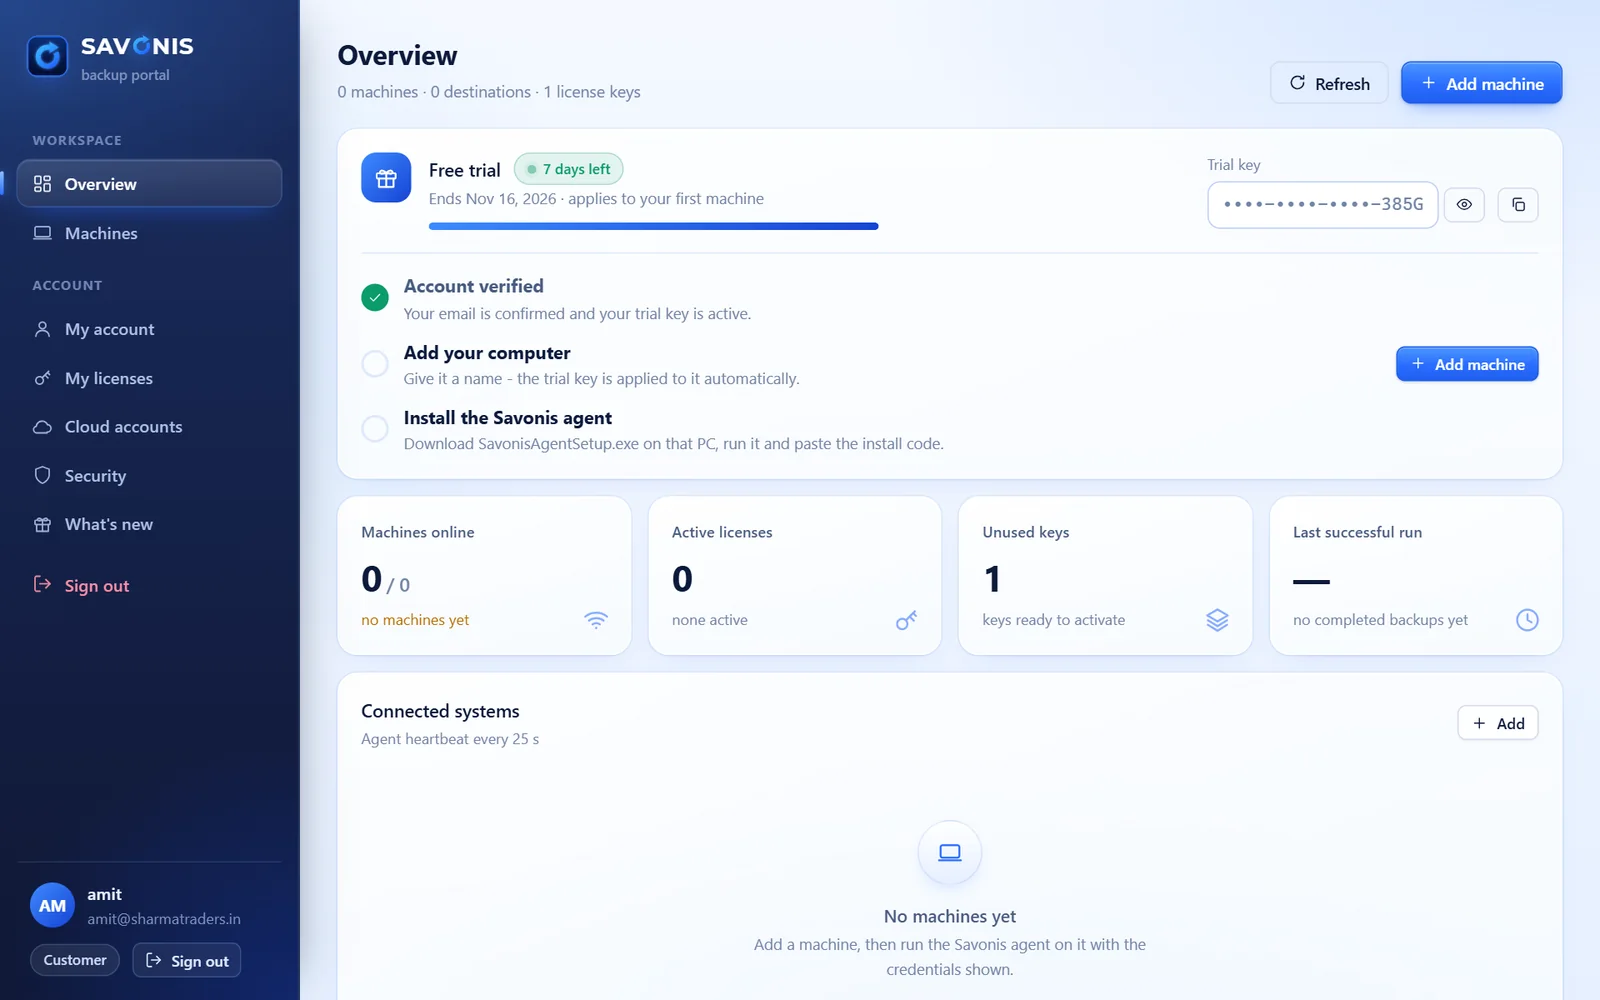
After you sign in, the dashboard shows your free trial and its key, ready to use.
Click Add machine and give the computer a name you will recognise, for example ACCOUNTS-PC. The trial key is applied to it automatically.
Get the installer and install code
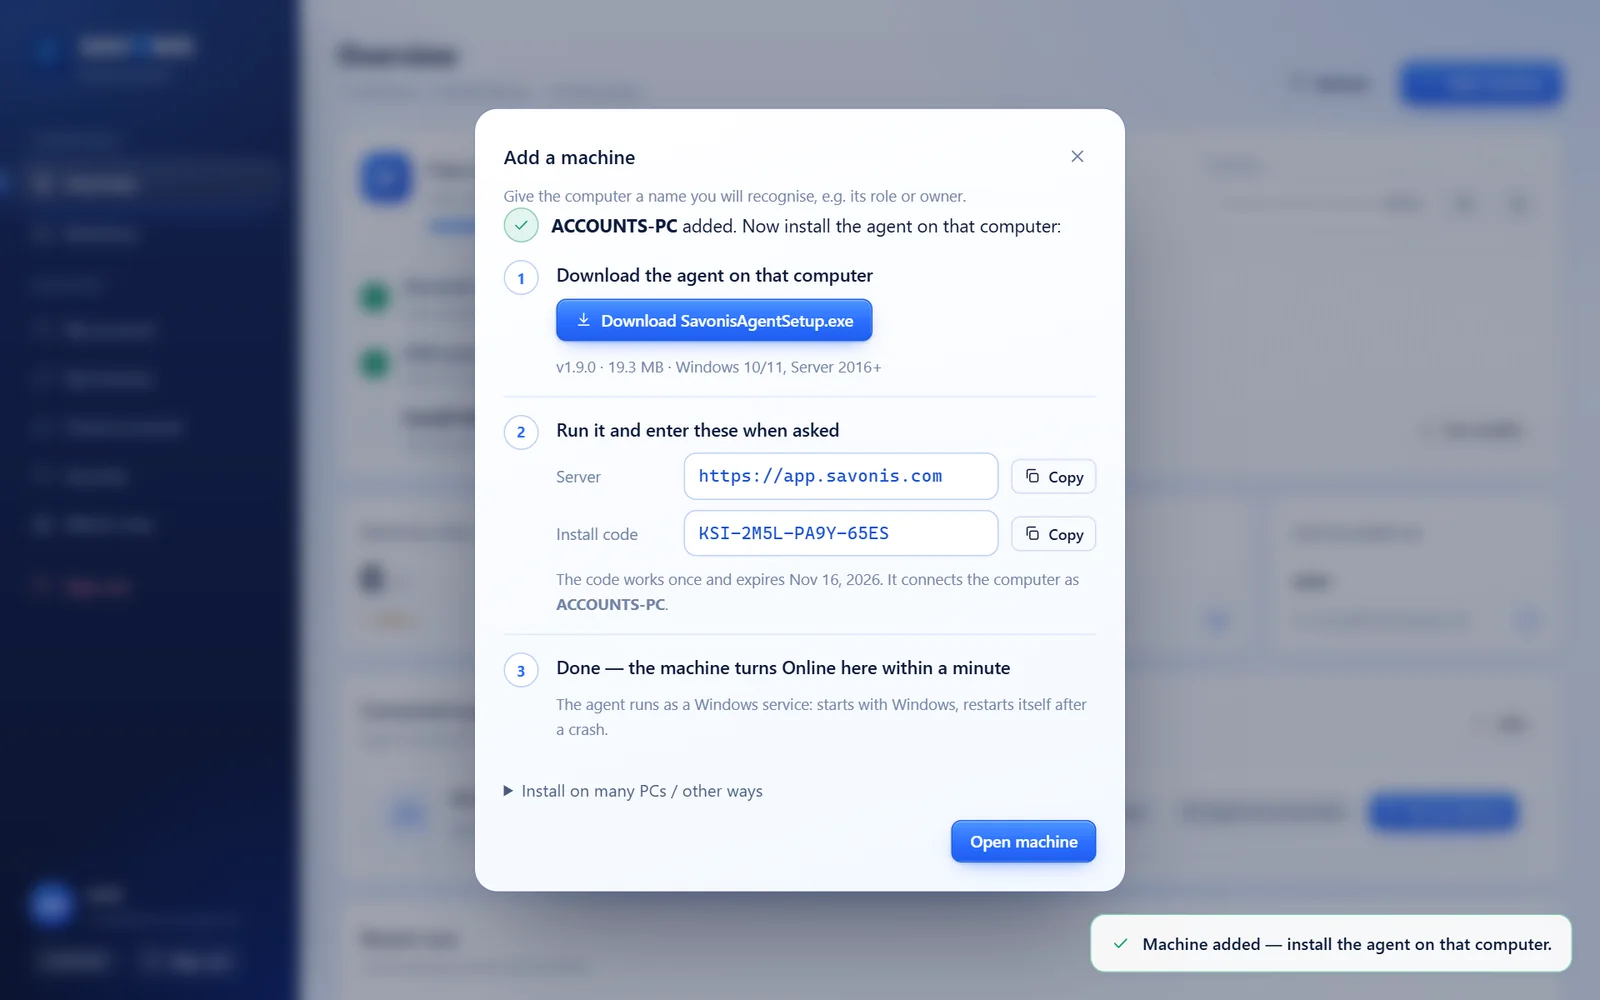
Savonis shows a Download SavonisAgentSetup.exe button, the server address and a one-time install code (KSI-XXXX-XXXX-XXXX).
Download the installer on the computer you want to protect, or copy it there.
Run the installer on that PC
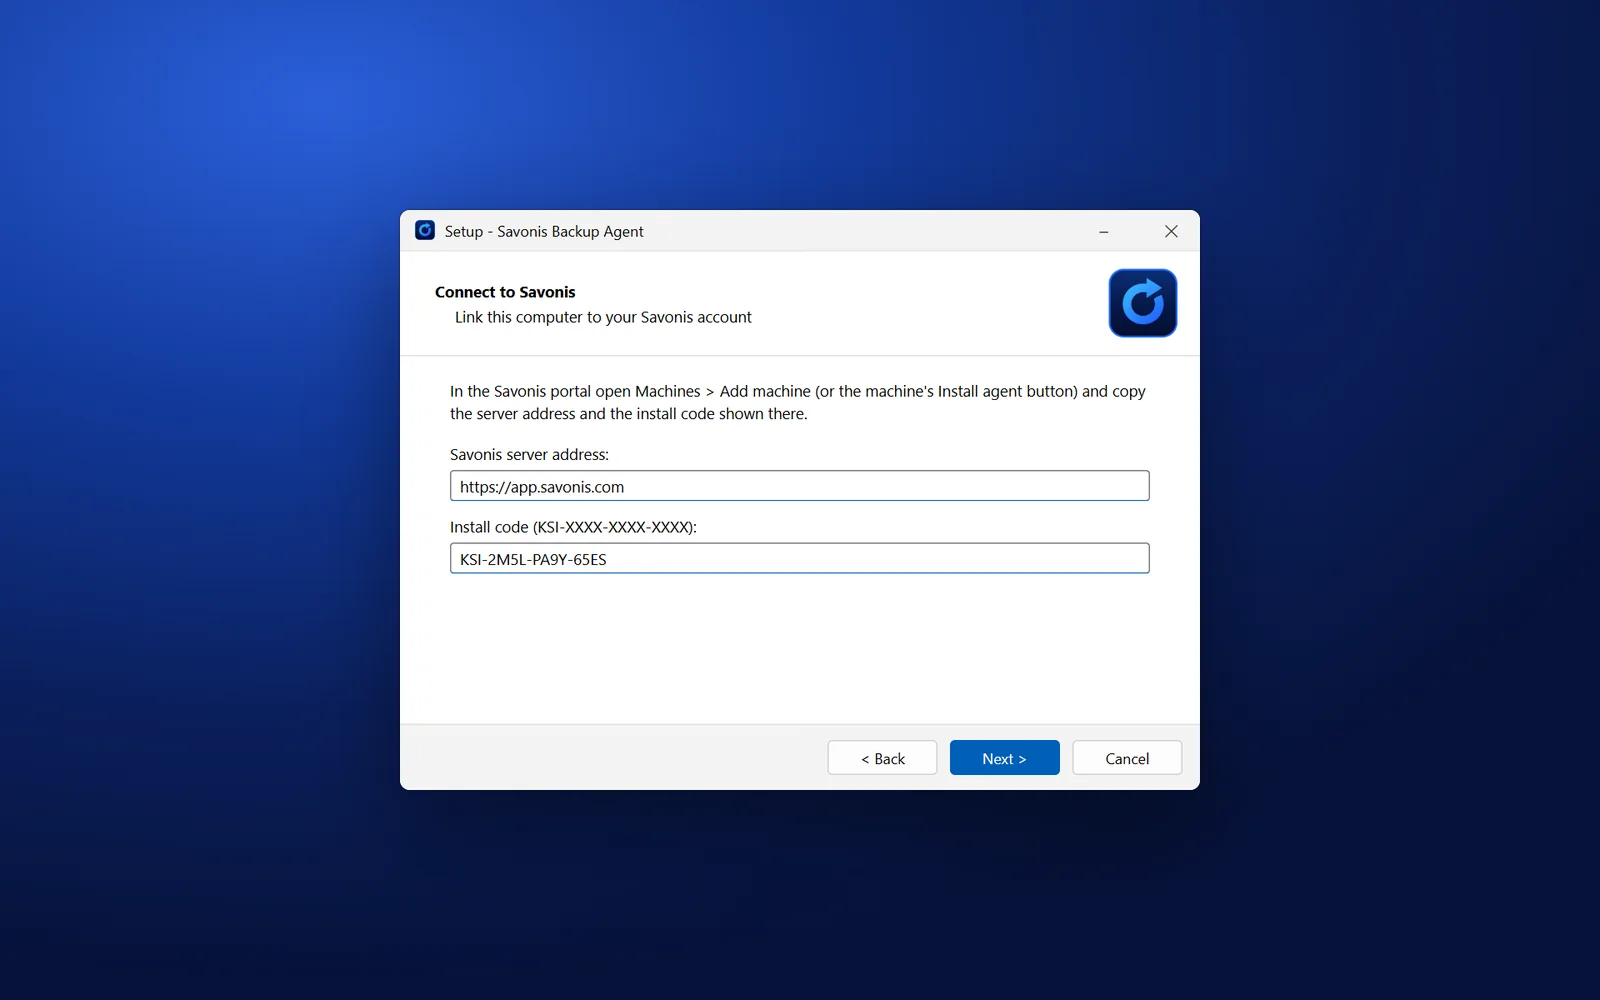
Run SavonisAgentSetup.exe. On the Connect to Savonis page, check the server address is https://app.savonis.com and paste the install code. Click Next and finish.
The agent installs as a Windows service. It starts with Windows and restarts itself after a crash.
Check it is online
Within a minute the computer shows Online in the portal, with its Windows version, IP address and agent version.
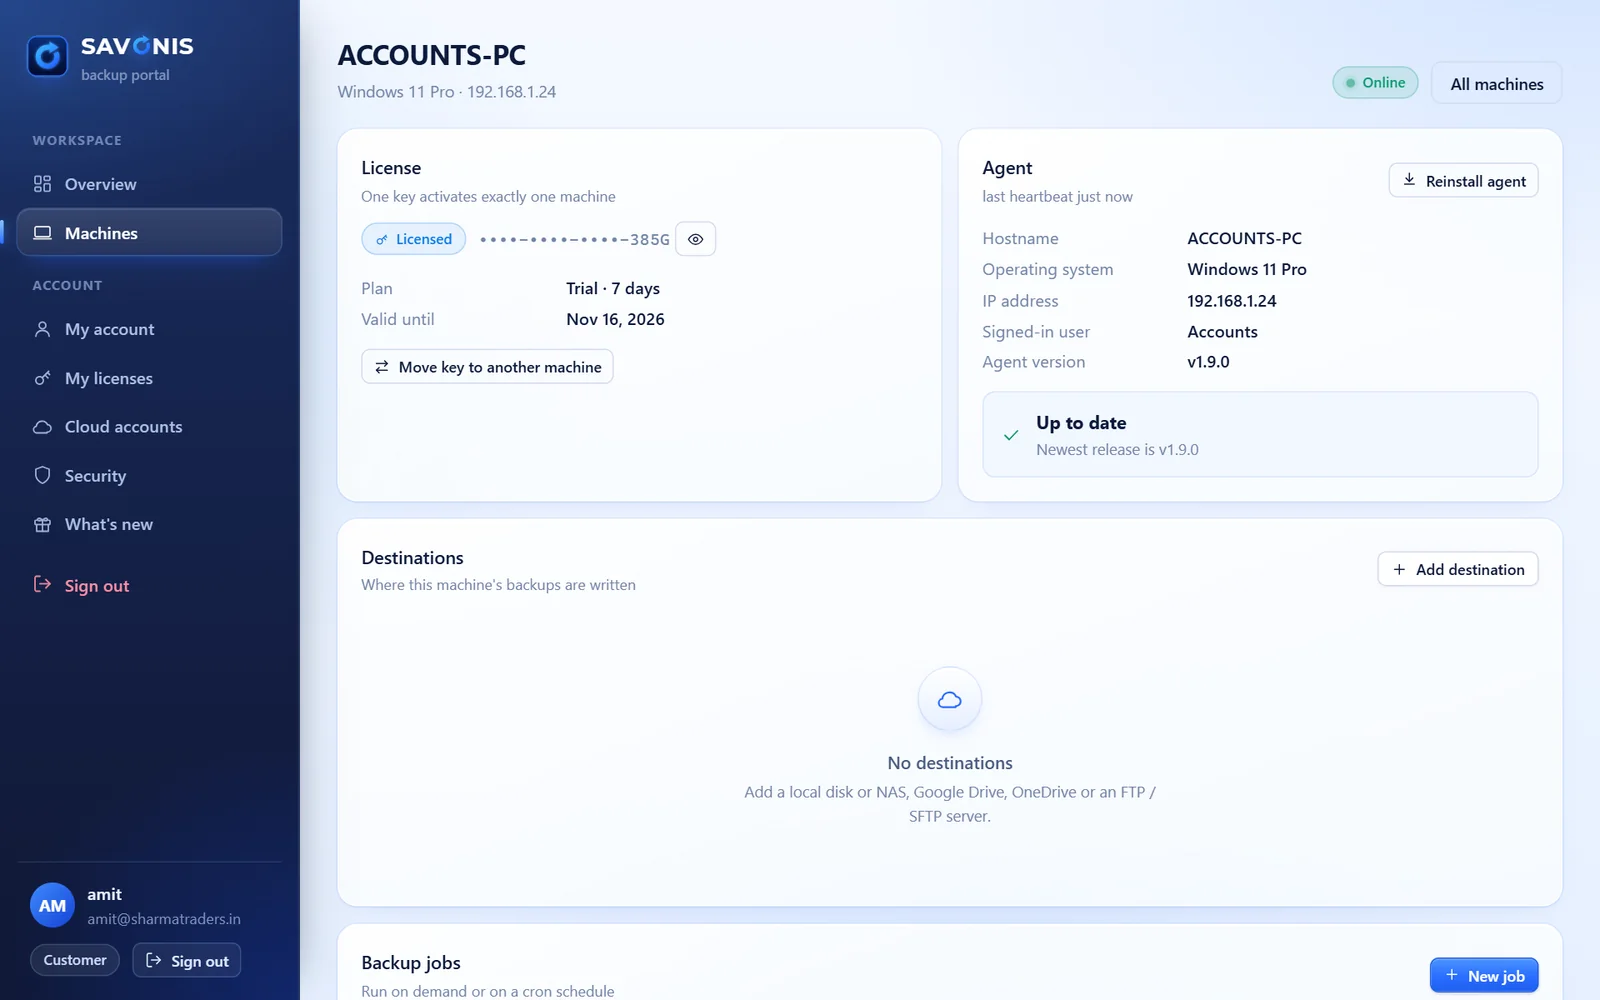
Choose where backups go
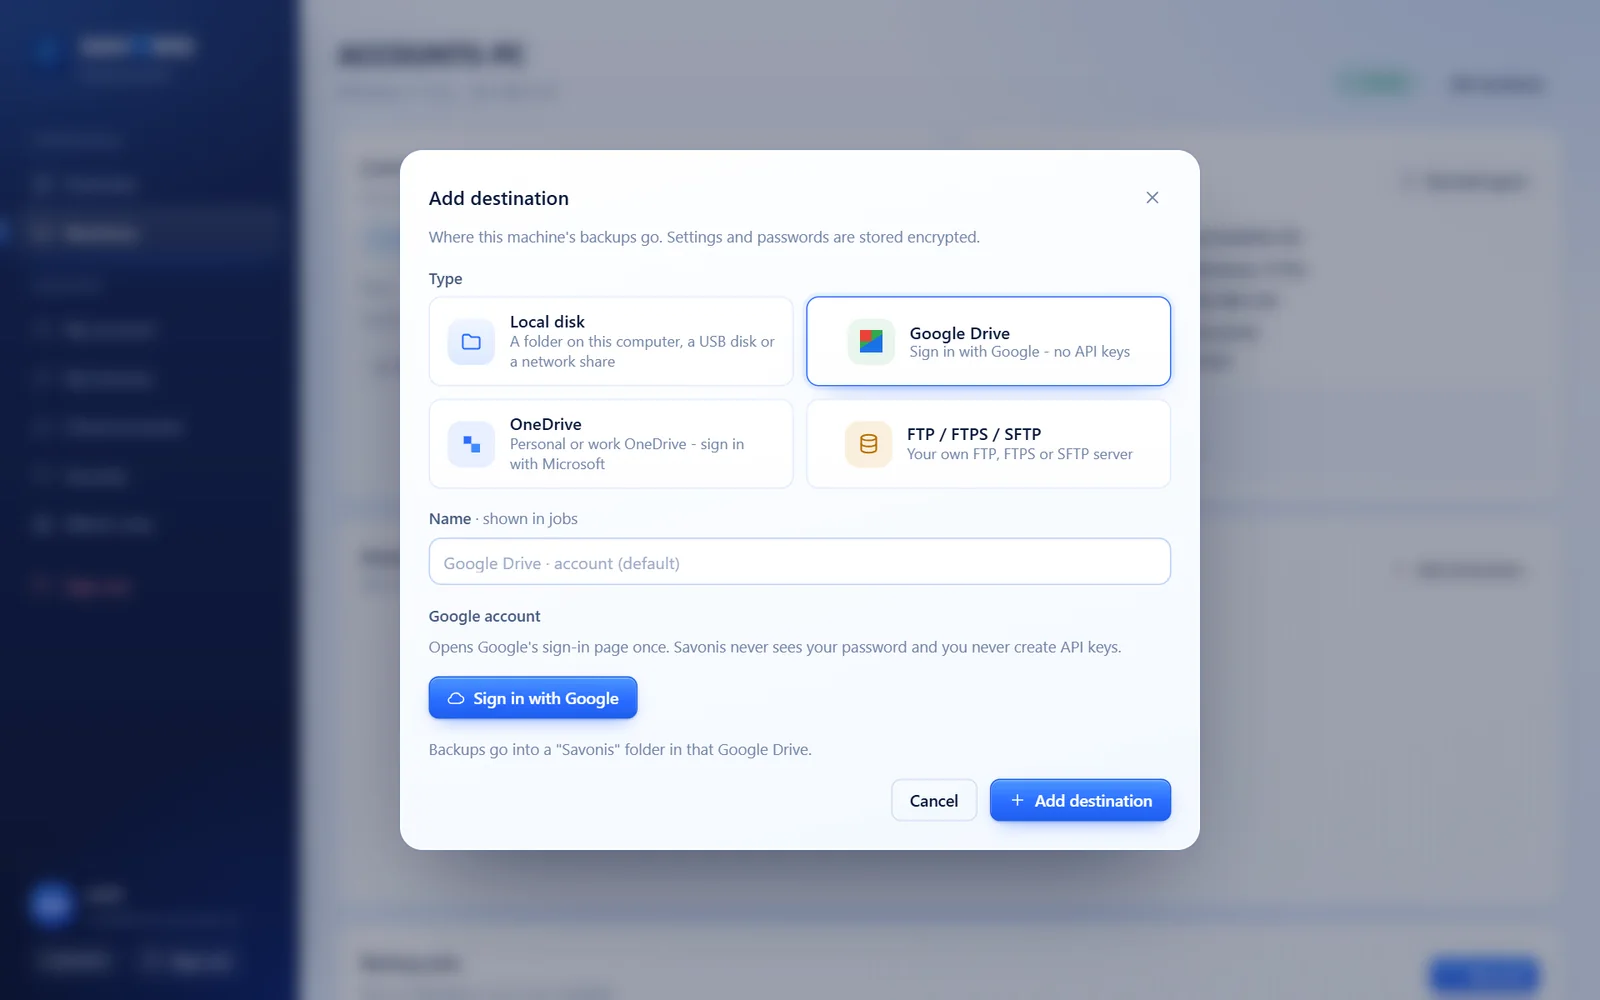
On the machine page click Add destination and pick one:
- Google Drive or OneDrive: click Sign in and allow access. No API keys.
- FTP / FTPS / SFTP: your own server's address and login.
- Local disk: a folder, USB disk or network share (NAS).
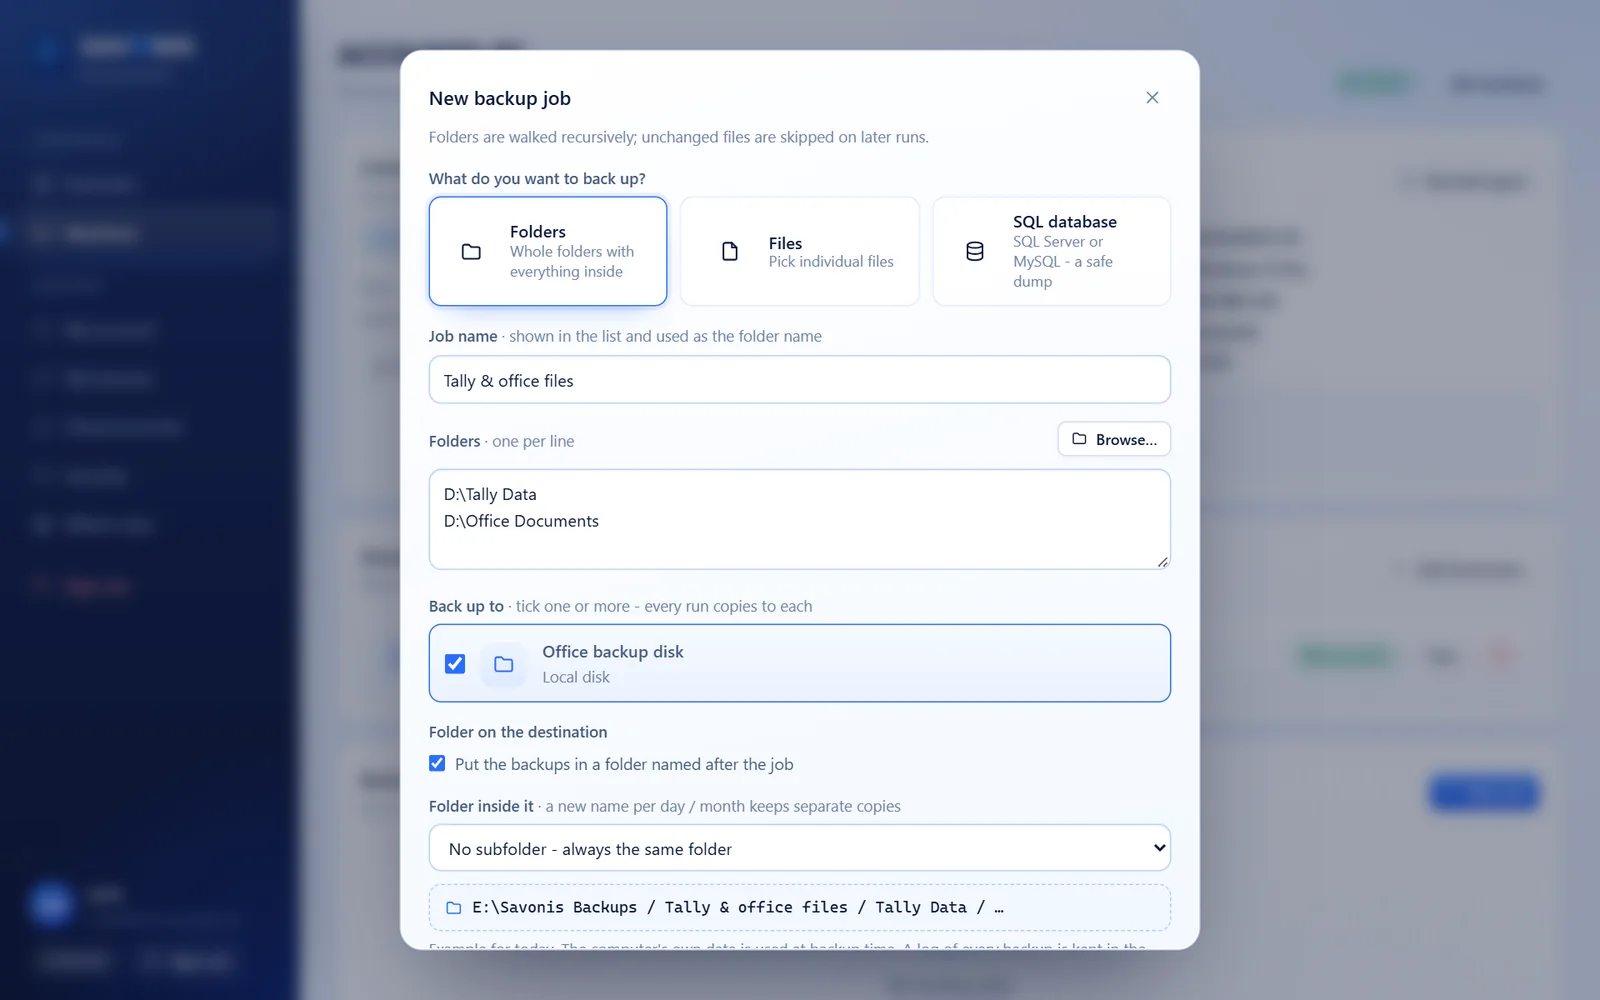
Pick the folders
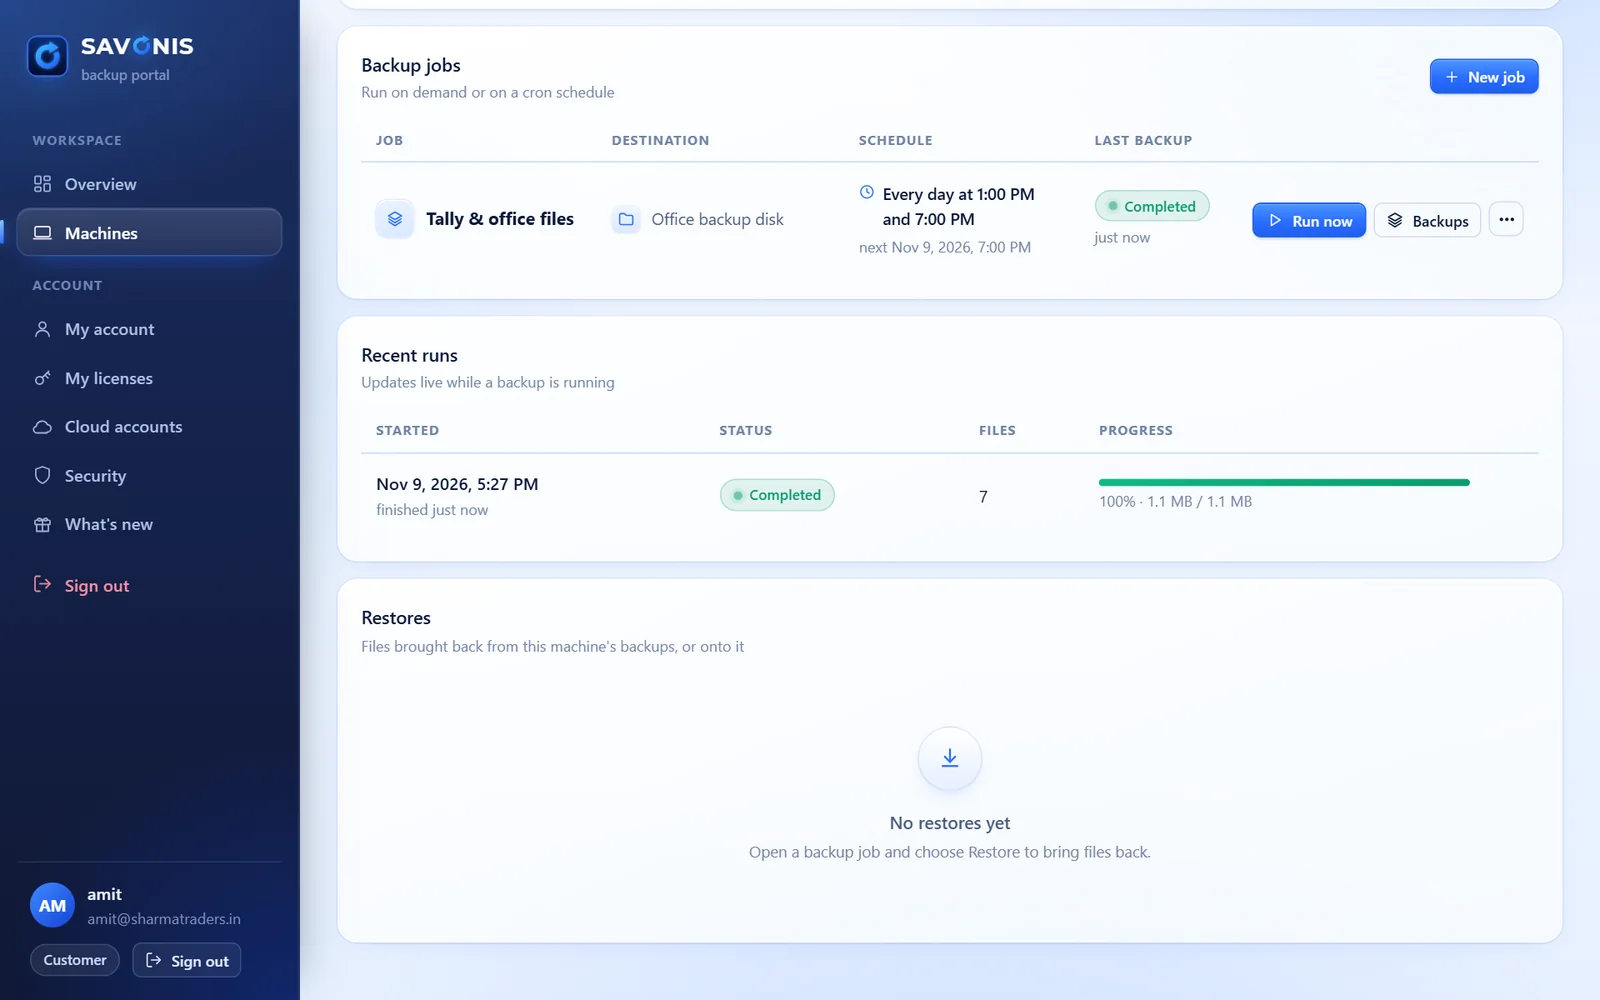
Click New job. Give it a name and list the folders to protect, one per line, for example your Tally data and office documents. Use Browse… to pick them from that PC.
Tick the destination the backups go to. You can tick more than one.
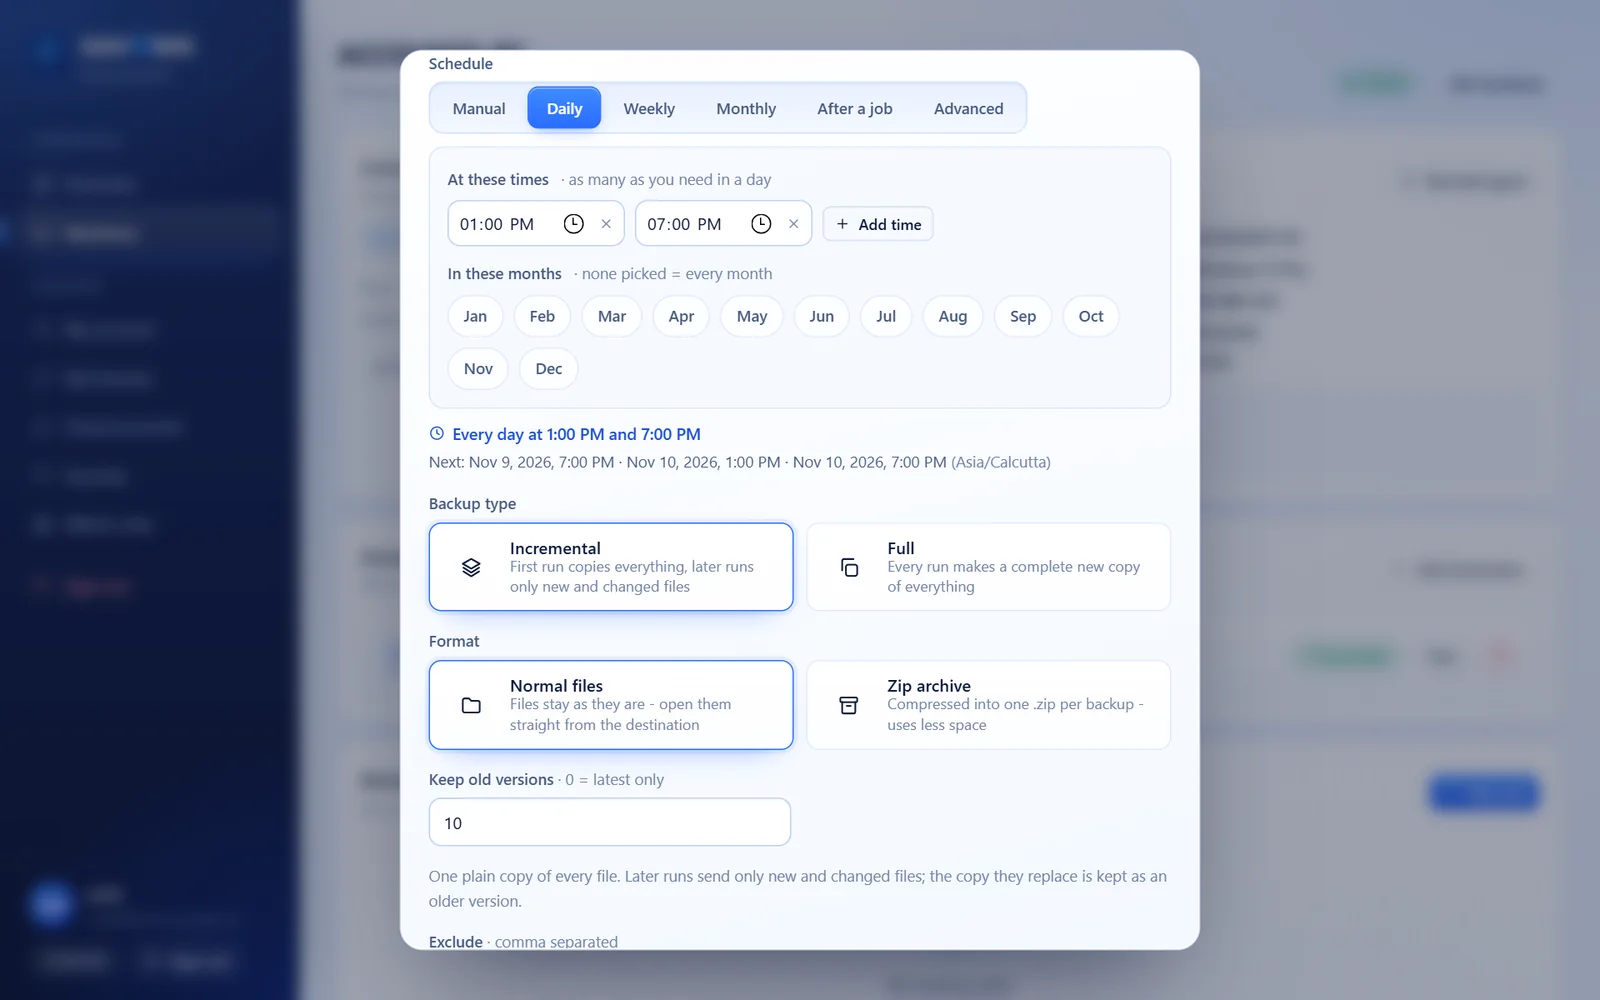
Set a schedule
Under Schedule choose Daily, Weekly or Monthly and add the times, for example every day at 1 PM and 7 PM. Then save with Create job.
Incremental (the default) copies everything once, then only new and changed files. You can also choose full backups or zip archives.
Run your first backup
Click Run now to take the first backup straight away. Progress updates live under Recent runs.
From then on the job runs on its schedule in the background. No one has to remember.
Restore whenever you need
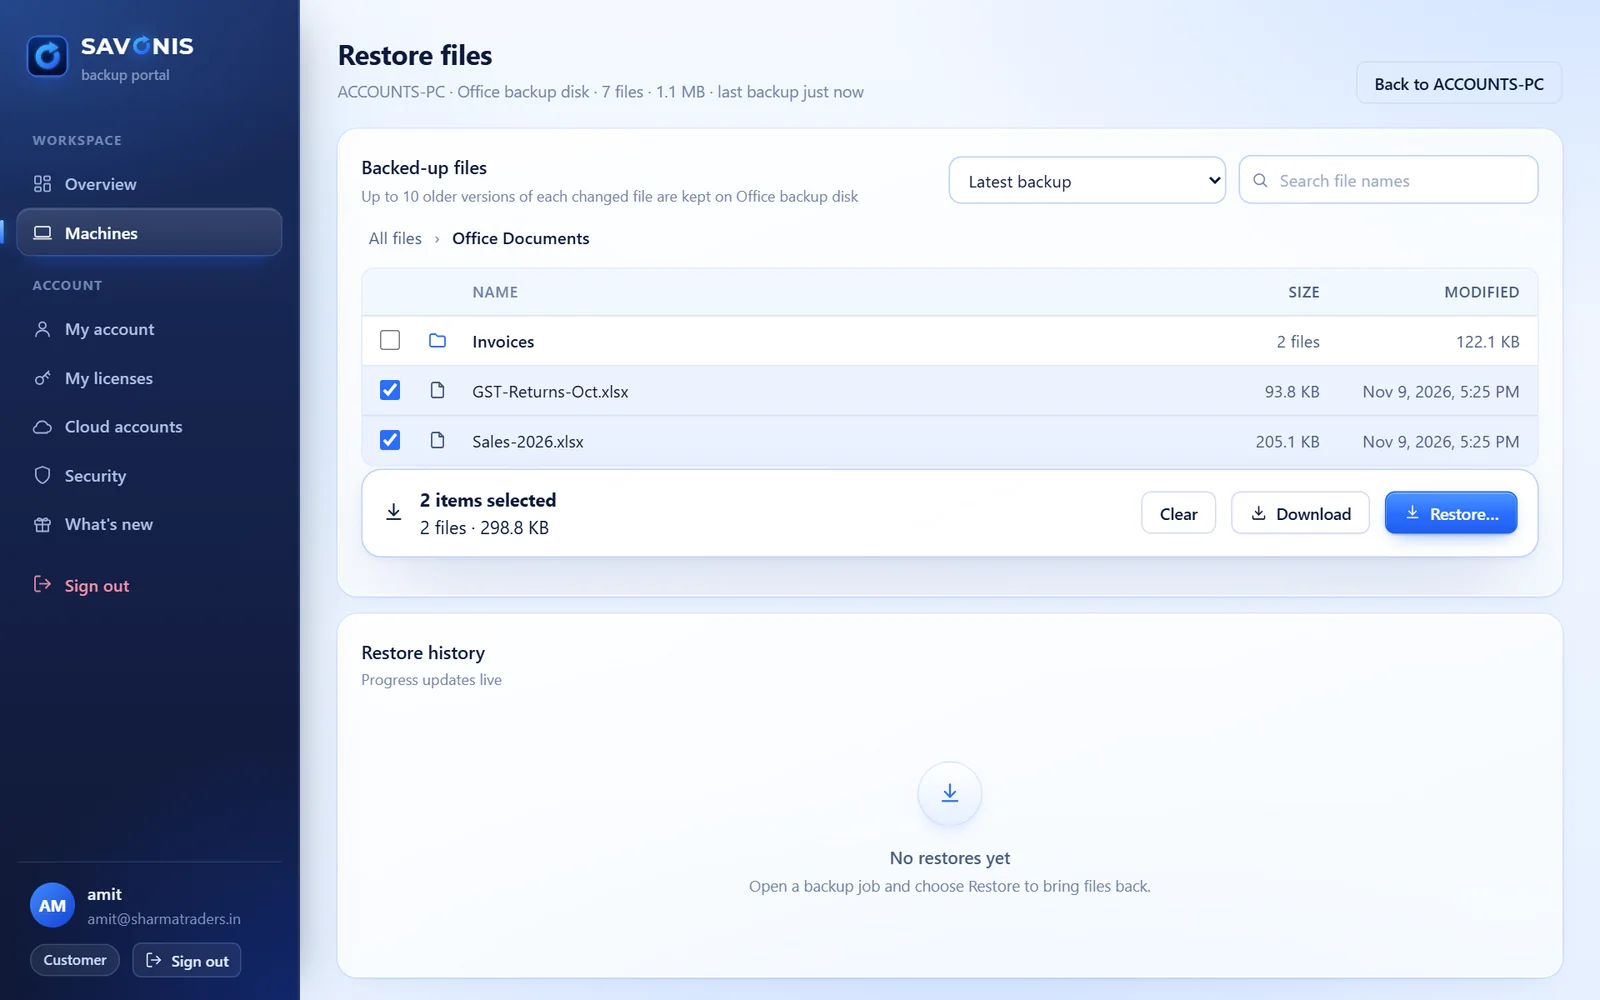
Open the job's Backups, pick a point in time (latest or an earlier backup), tick the files or folders you need and click Restore….
Restore to the original place or to a new folder, or Download them.
That's it: your files are protected
Questions while setting up? Contact us, we're happy to help.